DIY Draft Proofing: Seal Windows and Doors for Energy Savings
As energy costs continue to rise and environmental concerns grow, many homeowners are looking for practical ways to improve the efficiency of their living spaces. One of the most effective and accessible methods is draft proofing—the process of sealing gaps and cracks around windows and doors to prevent cold air from entering and warm air from escaping. This not only enhances comfort but also contributes to reducing energy consumption. In this article, we explore a process-oriented approach to draft proofing, focusing on the materials and techniques that can be applied in UK homes.
Draft proofing is a fundamental aspect of home insulation, yet it is often overlooked in favour of more extensive measures. By addressing the small gaps that commonly occur around frames, thresholds, and sashes, homeowners can significantly improve the thermal envelope of their property. The key is to identify the right materials for each type of gap and to apply them with care and precision. Whether you are a seasoned DIY enthusiast or a first-time homeowner, understanding the principles behind draft proofing will help you create a more comfortable and energy-efficient home.
Identifying Draft Sources Around Windows and Doors
Before any sealing works begins, it is essential to locate where drafts are occurring. Visual inspection is the first step, but many gaps are not immediately noticeable. A simple method is to hold a lit incense stick or a candle near the edges of windows and doors on a windy day; the smoke will flicker when there is an air leak. Alternatively, a damp hand can detect cold air streaming through gaps. Common trouble spots include the bottom of doors, the joints between window sashes, and the junction between the frame and the wall. Weather conditions such as rain and age can cause seals to degrade, leading to drafts that increase in severity over time.
Once potential areas are identified, it is important to assess the size and nature of each gap. Some drafts are due to warped or poorly fitted windows, while others are caused by missing or worn weatherstripping. Gaps can be categorised as either wide (more than a few millimetres) or narrow. Wide gaps often require a combination of fillers, such as expanding foam or backer rod, followed by a flexible sealant. Narrow gaps, on the other hand, are typically best addressed with self-adhesive foam strips or silicone sealants. Understanding the distinction will guide you in selecting the most effective products for each situation.
Choosing the Right Weatherstripping Materials
Weatherstripping is a durable material that seals the movable parts of windows and doors, such as the sash or the door leaf. There are several types available on the market, each with its own advantages and suitable applications. Self-adhesive foam strips are the most straightforward to install and are ideal for irregular gaps. They come in varying thicknesses and can be cut to size. However, they are not as durable as some other options and may need replacing after a few years. Another popular choice is V-strip or tension seal, which is a plastic or metal strip that folds into a V shape. It is particularly effective for the sides and tops of double-hung windows and can be pressed into the gap to create a spring-like seal.
For doors, more robust options include silicone or rubber gaskets that fit into grooves, as well as brush strips that sweep along the floor. Door sweeps are also useful for sealing the gap at the bottom of doors; they consist of a metal or plastic strip with a rubber or felt blade that rests against the threshold. When selecting weatherstripping, consider the material that the window or door is made of, the frequency of use, and the width of the gaps. It is also worth noting that some materials are more resistant to weather and wear, which is crucial in the variable UK climate. High-quality weatherstripping may cost a little more initially but can provide long-lasting performance and better insulation.
Applying Caulk for Permanent Sealing
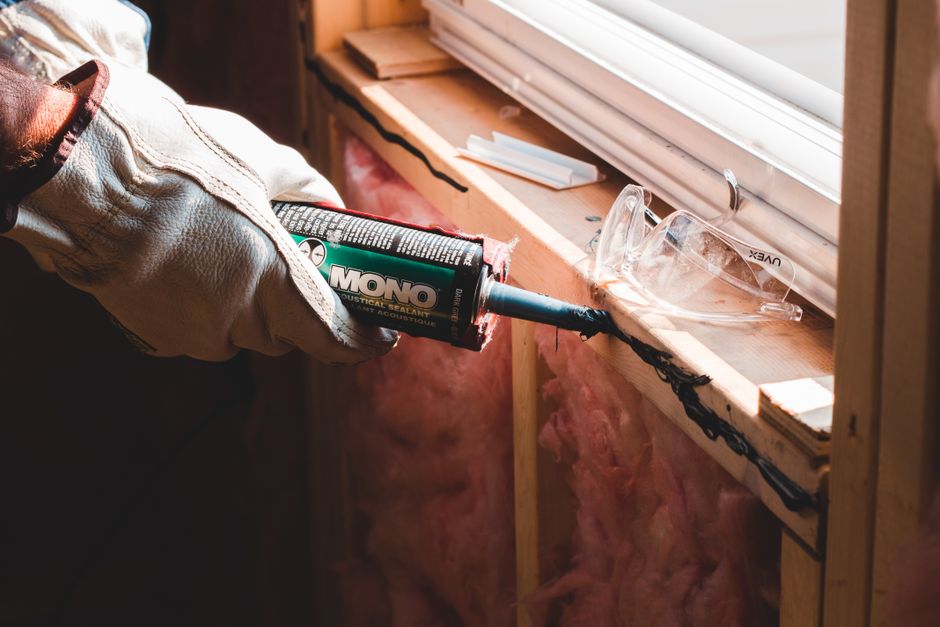
While weatherstripping addresses movable components, caulking is used to seal stationary joints and cracks. Silicone or acrylic latex caulk is ideal for filling small gaps around window frames and door frames where they meet the wall. Before applying caulk, it is essential to clean the area thoroughly and remove any old, cracked caulk. This can be done with a putty knife or a specialised caulk remover. The surface should be dry to ensure proper adhesion. Once the area is prepped, load the caulk into a caulking gun, cut the tip at an angle, and apply a continuous bead along the joint. Smooth the bead with a wet finger or a caulking smoothing tool to create a neat finish and improve contact.
For larger gaps, it is advisable to use a backing rod made of foam or rope to fill the space before caulking. This not only reduces the amount of caulk needed but also provides a proper shape for the sealant to adhere to. Backer rods are particularly useful for gaps wider than a quarter inch. When choosing caulk, look for products that are flexible and paintable, as they will accommodate slight movement and can be finished to match the surrounding trim. In areas that are prone to moisture, such as around kitchen or bathroom windows, opt for a caulk that is mould-resistant. Correctly applied caulk can last for years, providing a reliable barrier against drafts and moisture intrusion.
Step-by-Step Installation Tips for Effective Draft Proofing
To achieve the best results, it is important to follow a systematic approach. First, clean all surfaces where materials will be applied, removing dust, dirt, and grease. For weatherstripping, measure the width of the gap and cut the strip to the required length, ensuring a snug fit. When installing adhesive-backed foam, press it firmly into place, making sure there are no air bubbles. For V-strip, cut it to the length of the frame side and use the adhesive backing or small nails to secure it. If you are installing a door sweep, remove the door if necessary and screw the sweep to the bottom edge, adjusting the height so that the blade presses against the threshold.
When caulking, take care not to overapply as excess can be unsightly and may not set correctly. Use steady pressure and even movement to apply a consistent bead. If you make a mistake, you can smooth it out or remove the caulk and start again. Allow adequate drying time according to the manufacturer’s instructions before testing the seal. After installation, inspect the areas to ensure there are no remaining gaps. You can also check for drafts by repeating the incense stick test. Regular maintenance is also key; over time, weatherstripping can compress or deteriorate, and caulk can crack. Periodically checking and replacing worn materials will ensure that your home remains well-sealed throughout the year.
Effective draft proofing is not a one-off task but an ongoing process that involves regular inspection and maintenance to adapt to changing conditions.
Considering the Impact on Home Energy Efficiency
Proper draft proofing can play a significant role in the overall thermal performance of a home. By reducing the amount of cold air that enters and warm air that escapes, the heating system does not have to work as hard to maintain a comfortable temperature. This can lead to reduced energy usage and potentially lower utility bills. However, the exact level of savings will depend on various factors, such as the age and condition of the building, its location, and lifestyle habits. Draft proofing is most effective when combined with other insulation measures, such as loft and wall insulation. It is also worth considering ventilation, as a well-sealed home may require controlled ventilation to prevent condensation and maintain indoor air quality.
In the context of UK housing, where many properties are older and have single-glazed or poorly fitted windows, draft proofing offers a practical and relatively low-cost method of improving comfort. It is not a substitute for professional energy assessments or major renovations, but it is a valuable step that many homeowners can undertake themselves. By following the techniques outlined in this article, you can enhance the energy efficiency of your home while gaining hands-on experience. As with any DIY project, it is important to work safely and to choose materials that are suitable for your specific home.